
With the deadline for printed outcomes in sight we had this workshop looking at printing digital negatives for the analogue process of screen print. I learnt a few techniques that i'm sure will come in handy when it time comes to print.
To begin with we had a quick explanation of CYMK. CYMK standing for; cyan, yellow, magenta and key colour (black). CYMK are used for work concerning printing as the colour are subtractive as opposed to RGB being additive and best suited to imagery kept onscreen.
Selecting areas of the same colour can be achieved in Photoshop by selecting one area then; 'select, select similar'. Followed by; 'select, select, colour range' allowing for 'fuzziness' adjustment acting as a tolerance of sorts.

Photoshop can also be used simply to show the separate CYMK colours, using channels tab found in the righthand sidebar.

Next we took an image into Adobe Illustrator for appropriate screen printing negative setup (placing the image into a file). Going; 'print, print settings' reaches the the appropriate window. Selecting 'separations' and changing the lpi (lines per inch) to somewhere between 50 and 65 is necessary for printing screen print negatives. The appropriate angle selections are also shown in the shot below.

Splitting different colours of CYMK in to different half tones was the next tutorial. This was achieved by following; 'image, bitmap' before inputing 1200 for resolution and selecting: 'halftone screen'.

The next window being the halftone window should be changed to lower values in order to make the printed dots larger, 40 and 15 used as an example.

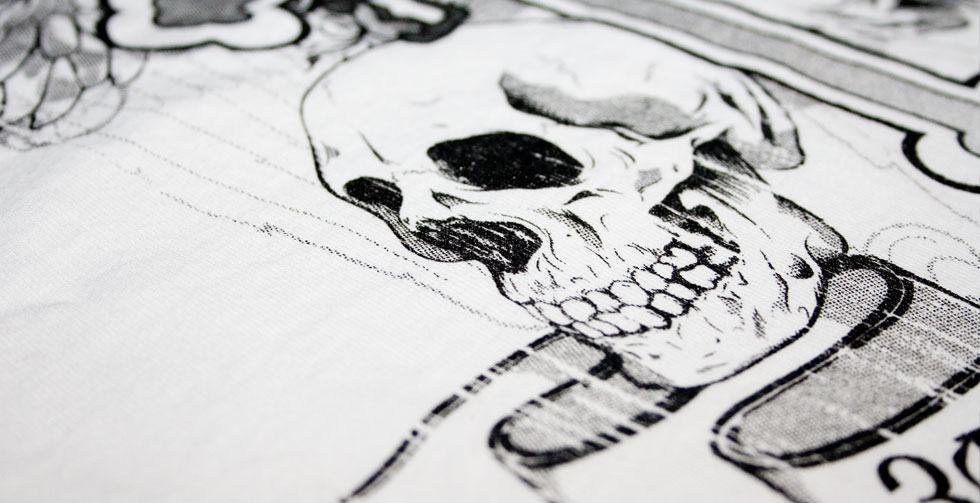
Resulting in the effect seen below. This should be applied to other colour channels appropriately varying the angle and size of dot.

No comments:
Post a Comment